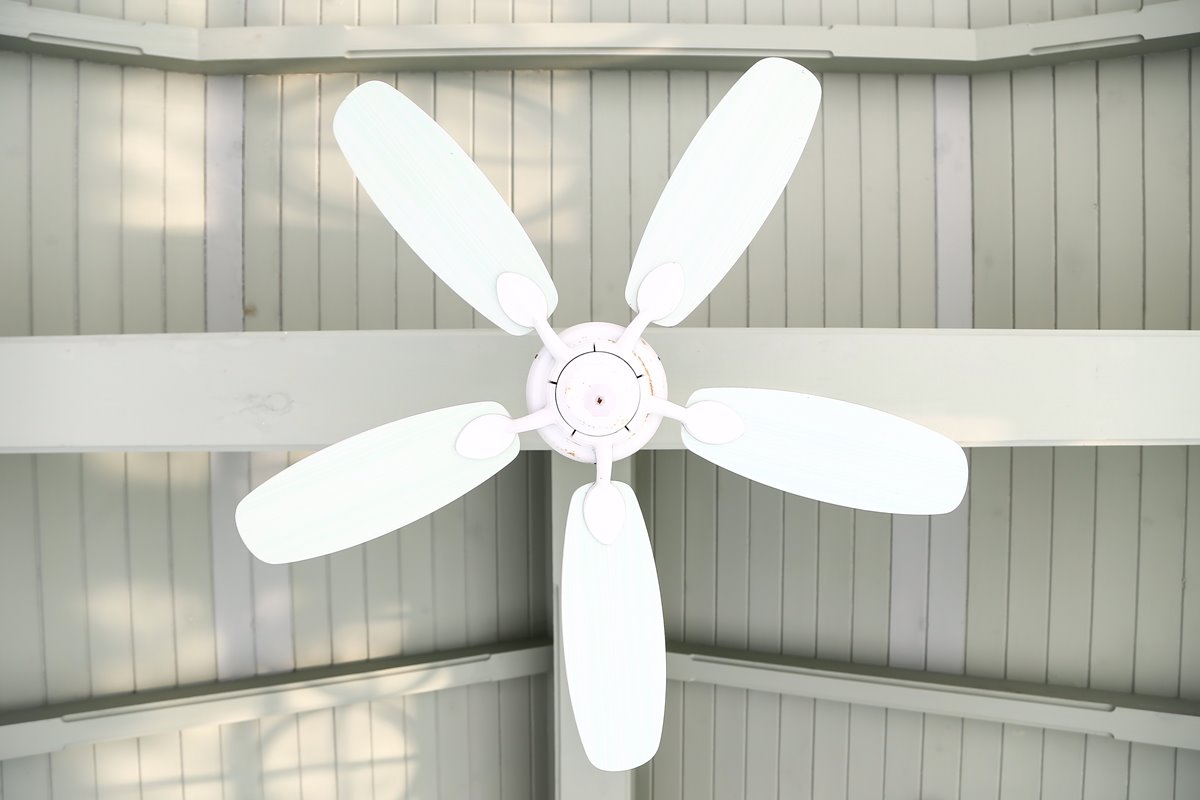
A ceiling fan can be a great addition to any space. It can create a soothing breeze that keeps you cool in the summer and warm in the winter by circulating air. You can save money on energy costs and, with all the many classy new styles of fans available on the market, you can find one that matches your decor. You can even get smart fans and remote-controlled units.
And if you have a light fixture already in place where you want to install the ceiling fan, you can easily swap one out for the other with just an afternoon’s work. It’s a pretty simply DIY job – here’s how to do it.
Cut the Power
Before you start doing any work on your home’s wiring, it’s imperative that you cut the power to that circuit so you don’t shock yourself. Electricity can be very dangerous – it’s certainly nothing to fool around with. Shut off the power at the breaker box, and at the wall switch in the room where you’ll be working. Use a voltage tester to verify that the power is off before you begin.
Take Down the Old Light Fixture
You might have to remove the glass globe or cover from your fixture in order to access the screws that mount it to the electrical box. Once you’ve removed those screws, you can pull the fixture gently down to expose the wiring. Remove the wire nuts from the wiring connections and untwist the wires. Set the light fixture aside.
You’ll need to replace the standard electrical box in your ceiling with a fan-rated one. If your standard electrical box is mounted to a joist, you can pry it off with a crowbar and affix your fan-rated box to the same joist. If you’re installing a brace to support your fan’s weight, you may have to place your fan slightly to one side of the original hole in order to install the brace. You can also do this if your light fixture wasn’t attached to the joist but was right next to it, and you want to mount the ceiling fan to the joist. If you have to move the fan over and make a second hold in your ceiling, you can cover the old hole with a ceiling medallion.
Install a Support Brace
Ceiling fans are heavy – some of the larger ones can weigh more than 50 pounds – so you’ll need to install a support brace that’s capable of holding up the fan’s weight, unless you’re mounting the fan directly to a joist. If you can access the ceiling from above, in the attic, you can screw a length of two-by-four between the joists to serve as a brace to support your ceiling fan. Use two- or three-inch decking screws.
If you can’t access the ceiling from above, use an expanding metal brace. You can put it through the hole in your ceiling and expand it from below. When it reaches the joists on either side of your hole, spikes on the ends of the bracket will dig into the joists to stabilize the brace.
Attach a Fan-rated Electrical Box to the Brace
You need to use an electrical box rated for ceiling fans to hold your new fan up. Mount it to the ceiling joist or brace you installed. Then you can attach the fan motor to the electrical box.
Mount the Fan Motor
There should be an installation hook on your fan that will allow you to hang it from the electrical box while you connect the wiring. You might need to trim and strip the ends of the wires coming out of your ceiling with a wire stripper, if they’re frayed. Twist the bare end of the black wire in your ceiling together with the black wire coming out of your fan motor, then secure the connection with a wire nut. Do the same with the two white wires. Connect the green or bare ground wire in the fan to the one in your ceiling and to the green ground screw in the electrical box. Once you have the wiring done, you can swing the fan motor up and mount it to the electrical box.
Wire up the Light Fixtures and Attach the Blades
Once the fan motor is secured to the ceiling, you can wire up the light fixture, if there is one, and attach the blades. Wire up the lights the same way you wired up the fan motor, and use your fan’s assembly instructions to attach the light fixture to the fan motor. Put the blade brackets on the blades first and then attach them to the fan motor. Then you can do any final touches, such as installing a remote control holder on the wall.
Replacing an old light fixture with a ceiling fan is an easy and quick way to upgrade any room. With your new fan, you can save on energy costs and feel more comfortable in your home at the same time.


