The upside to staying indoors during these cold days is the opportunity to try out new hobbies and crafts that will show off your creative side. Whether it is painting, knitting, learning how to play an instrument or simply cooking, there are plenty of pastimes you can do in the comfort of your own home.
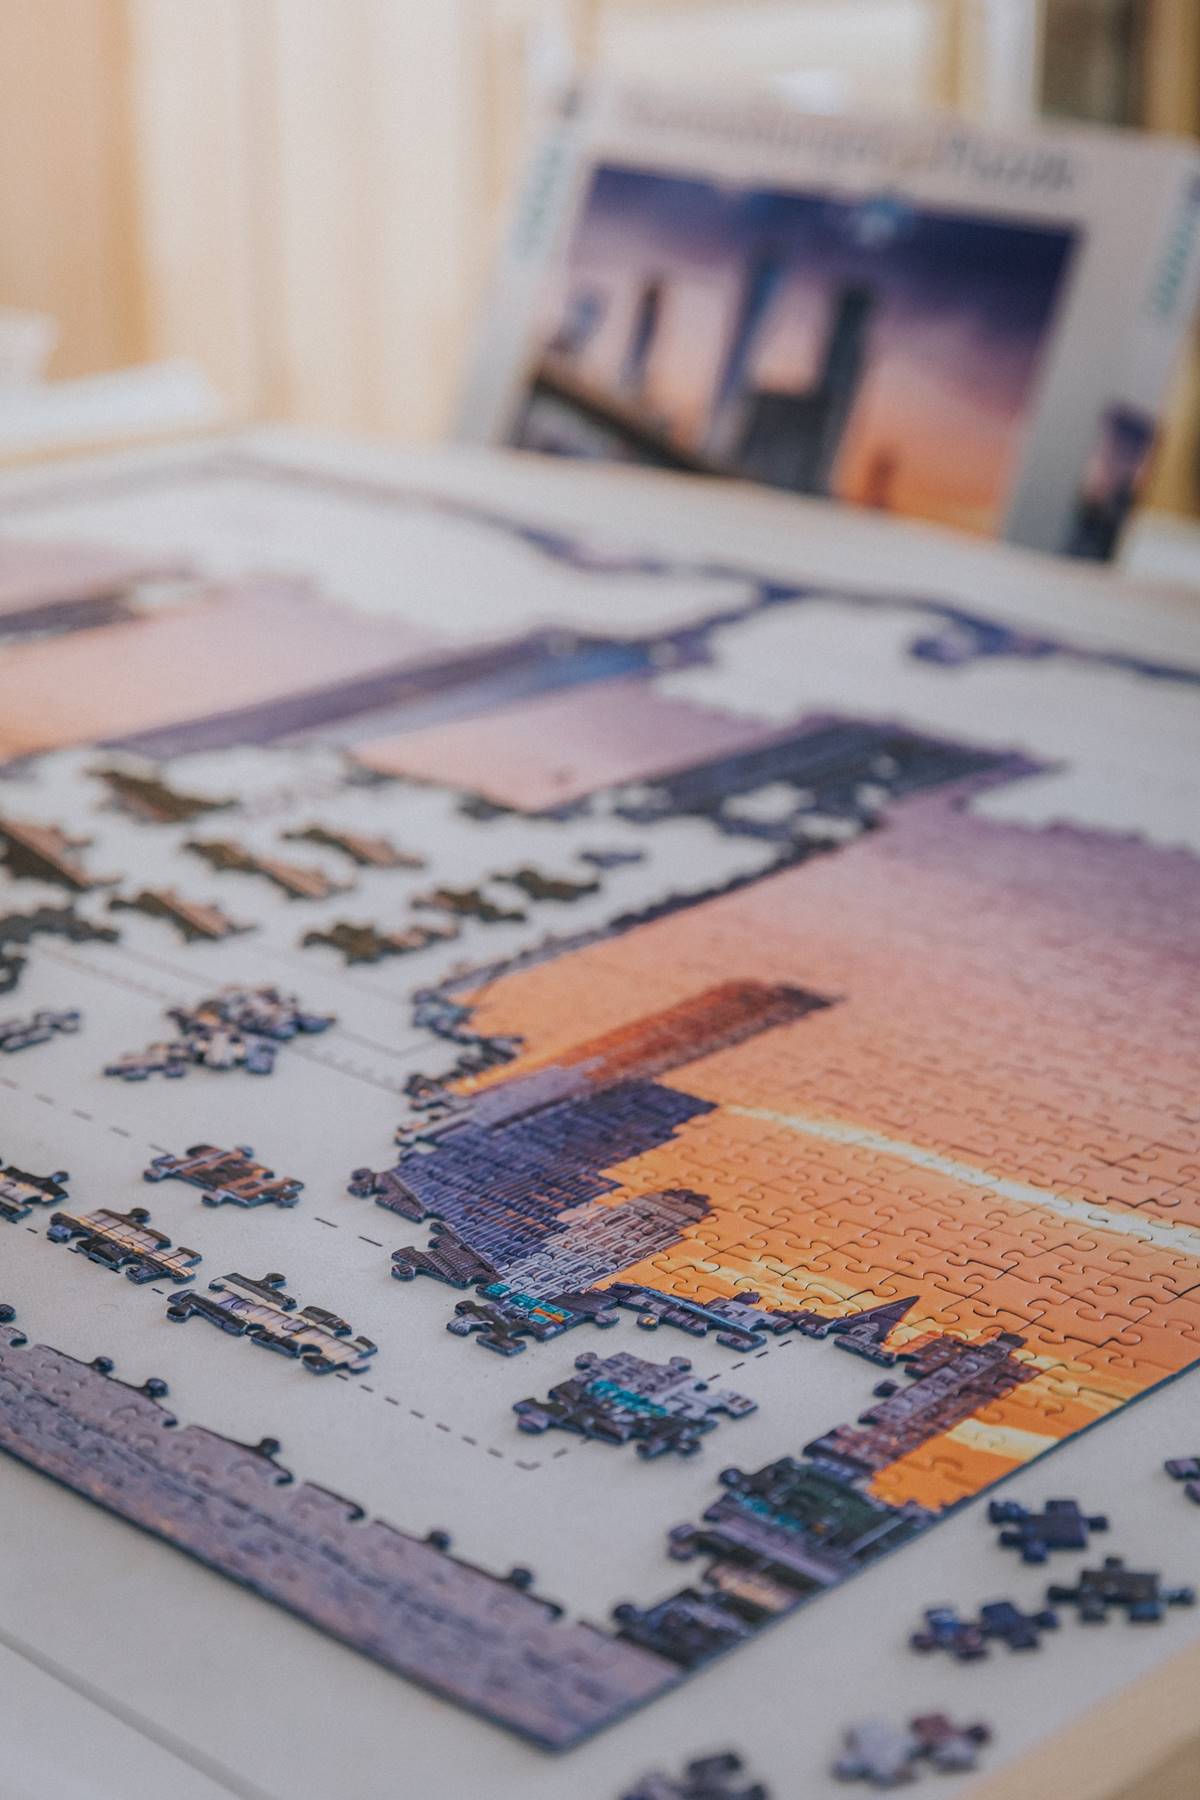
One hobby that can entertain your soul and fulfill your free time by kindling your creativity is jigsaw puzzles. Although they may seem like a long and complex task, putting a puzzle together is actually considered a meditative craft which can result in a beautiful piece of art. This means that you can switch from the natural landscape photo to puzzles with vibrant colors to add some freshness and originality to your home.
Photo by Bianca Ackermann on Unsplash
While solving the puzzle may be the most exciting part, the real fun actually starts when you have to frame it. If you aren’t sure of the steps you must take in order to do this, keep reading to learn of the few ways you can follow up on to put your puzzle together effortlessly.
What Materials Do You Need?
You have completed your jigsaw puzzle and now you are ready to take the next steps of framing it. Before you begin with anything, make sure you have all the necessary materials. This includes:
- A rolling pin
- Puzzle glue or tape
- A foam brush
- Wax paper
- A cupboard
- A frame
Once you have gathered all materials, you are ready to take on the next steps.
Getting Your Workspace Ready
Make sure you fully clear your workspace and check that you have a cover between your puzzle and the surface. For example, this cover can be your wax paper which you can place underneath your puzzle. This step is very important because you will be making sure that your puzzle won’t stick to the surface during the gluing process.
After doing this, remember to brush any lint and dirt from your puzzle. Also, make sure it is flat as it may have an occasional stray piece pop out of place. In this case, you can use a rolling pin to level the entire thing.
The Glue Method
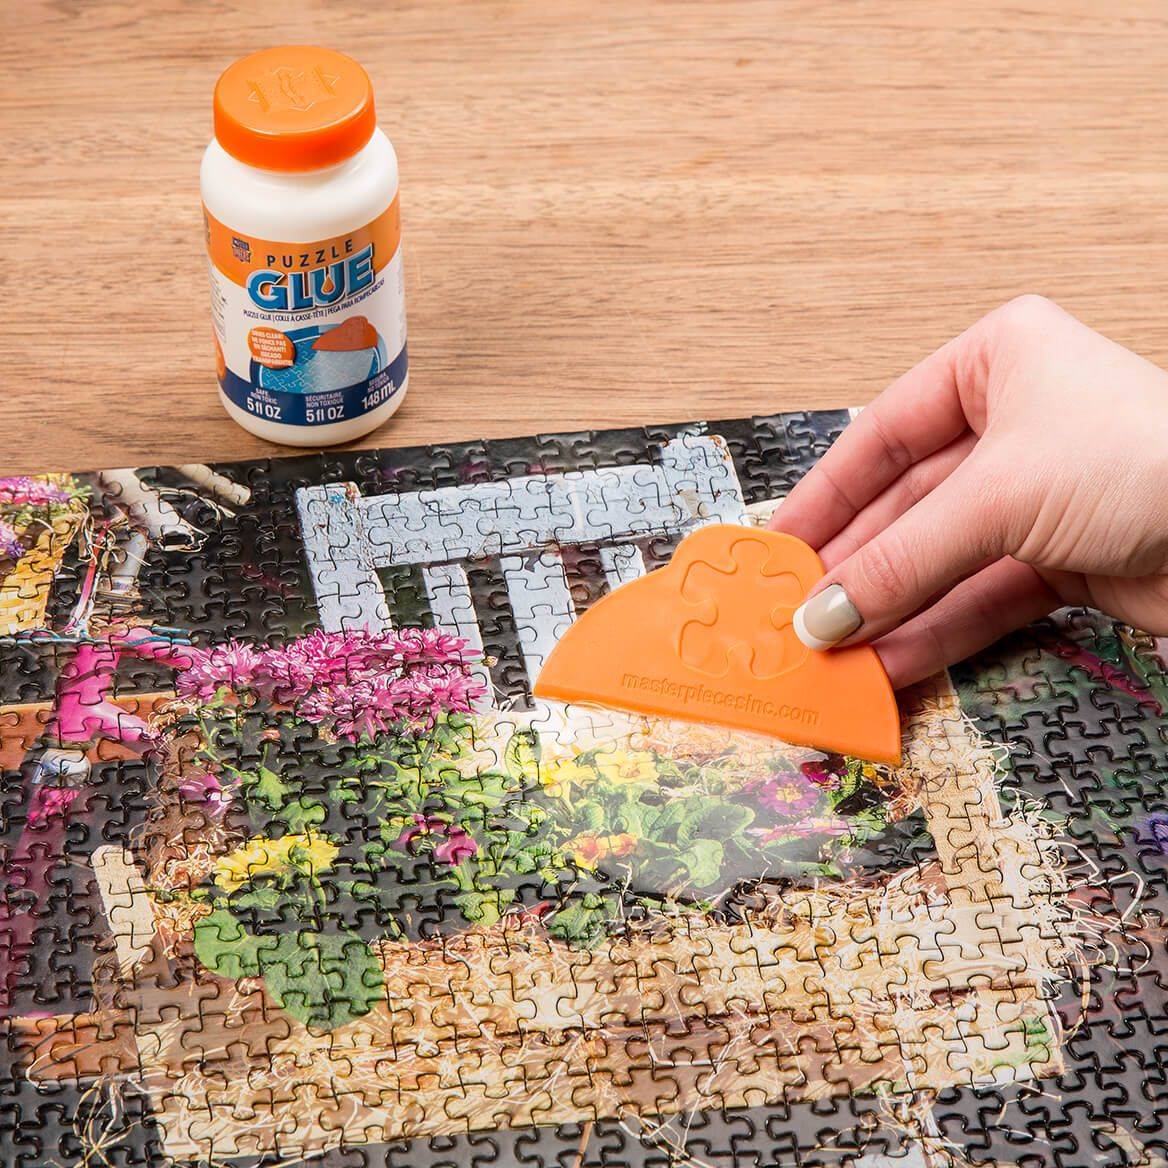
Unfortunately, puzzles can fall apart just about everywhere, even on a flat surface. Therefore, in order to keep your puzzle from falling apart inside the frame, you must use puzzle glue. Apply glue to the front of the puzzle using a foam brush to avoid leaving streak marks on the surface.
While you are applying glue, make sure you are spreading it out evenly across the entire thing. Don’t panic if the puzzle glue goes in the crack of every piece. This is actually a good thing because it will glue your puzzle better. After doing this, wait for a few hours for the glue to fully dry before flipping the puzzle over to glue the back.
Once the glue has dried, you can carefully remove the wax paper of your puzzle and place your completed piece onto the backing. Apply glue on the backside and again wait for about four hours for the glue to dry out while you are preparing for the next step.
Photo by Mileskimball from Pinterest
The Tape Method
If you think of yourself as a messy person, you might want to avoid using glue as things may get even messier, especially if you are framing your puzzle with your children. Also, since the finish of your puzzle may change if you are using low-quality glue, you can opt for another way to secure your piece.
Getting a special jigsaw frame is the fastest way to frame your puzzle without the need for glue. Firstly, you must accurately measure the size of your puzzle in order for it to fit perfectly in the frame. When you are looking for the correct frame, make sure it has a sturdy backing to support the puzzle and keep it from falling apart.
Secondly, you must carefully flip the puzzle over. You can do this by placing a poster board on top of the puzzle as well as beneath it. For more security, you can even put binder clips on all sides. It is advised that you do the flipping over in one motion in order to avoid the puzzle falling apart.
Thirdly, once you have flipped your piece over, apply a strong tape to the back, and firmly press it down. After completing this step, carefully place your puzzle onto the frame’s backing. Make sure you assemble any fallen pieces while you are laying out your puzzle.
Choosing the Right Frame
Having the perfect frame should be enhancing your puzzle and transforming it into true artwork. So, what you must do first is measure the size of your puzzle as well as its thickness to help you determine the right frame. While measuring the thickness, you should think about adding matting to your frame especially if you want to give your puzzle more support.
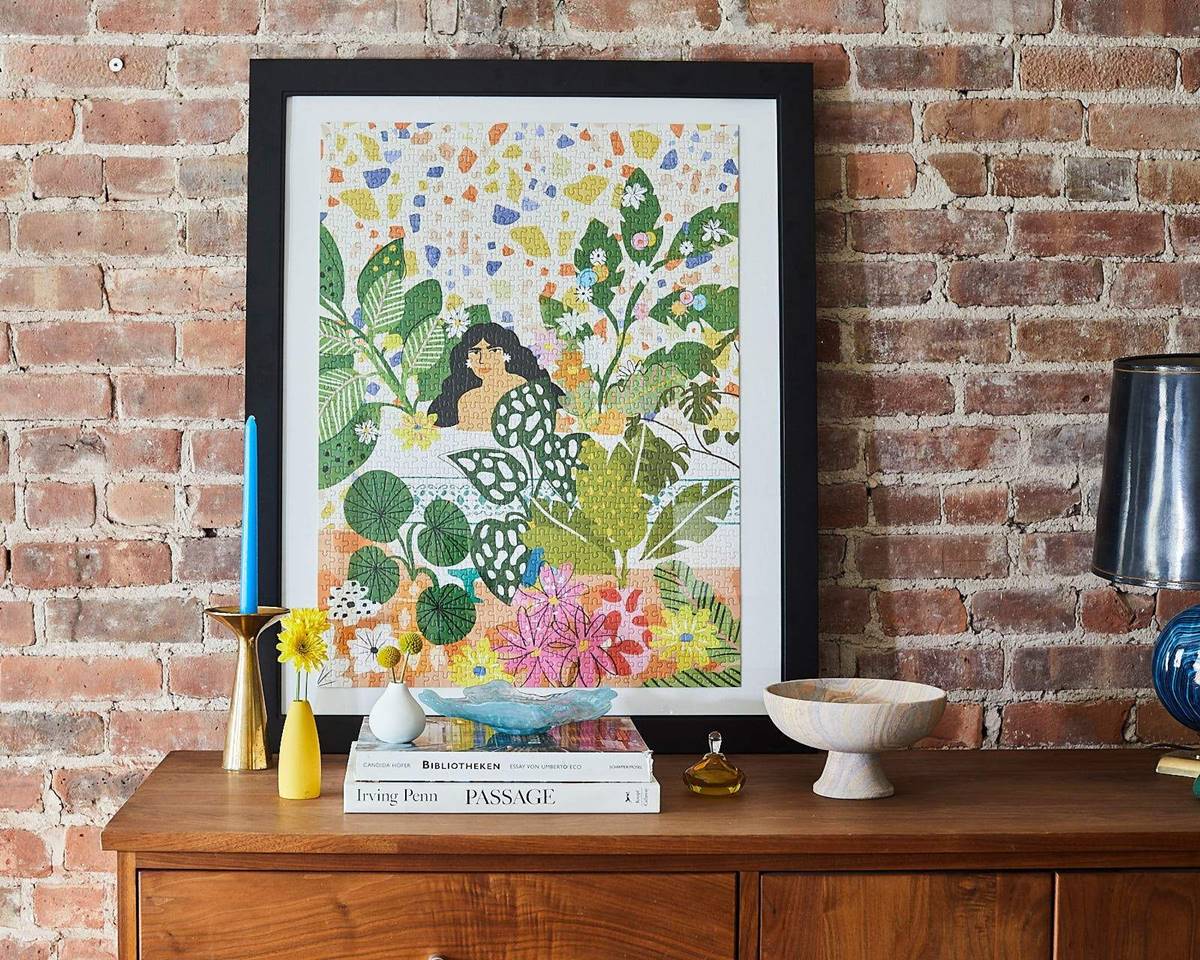
Next is choosing a frame that accommodates your personal taste as well as your interior decor style. Luckily, there is a wide range of frame sizes and types you can choose from to intensify the overall presentation of your puzzle.
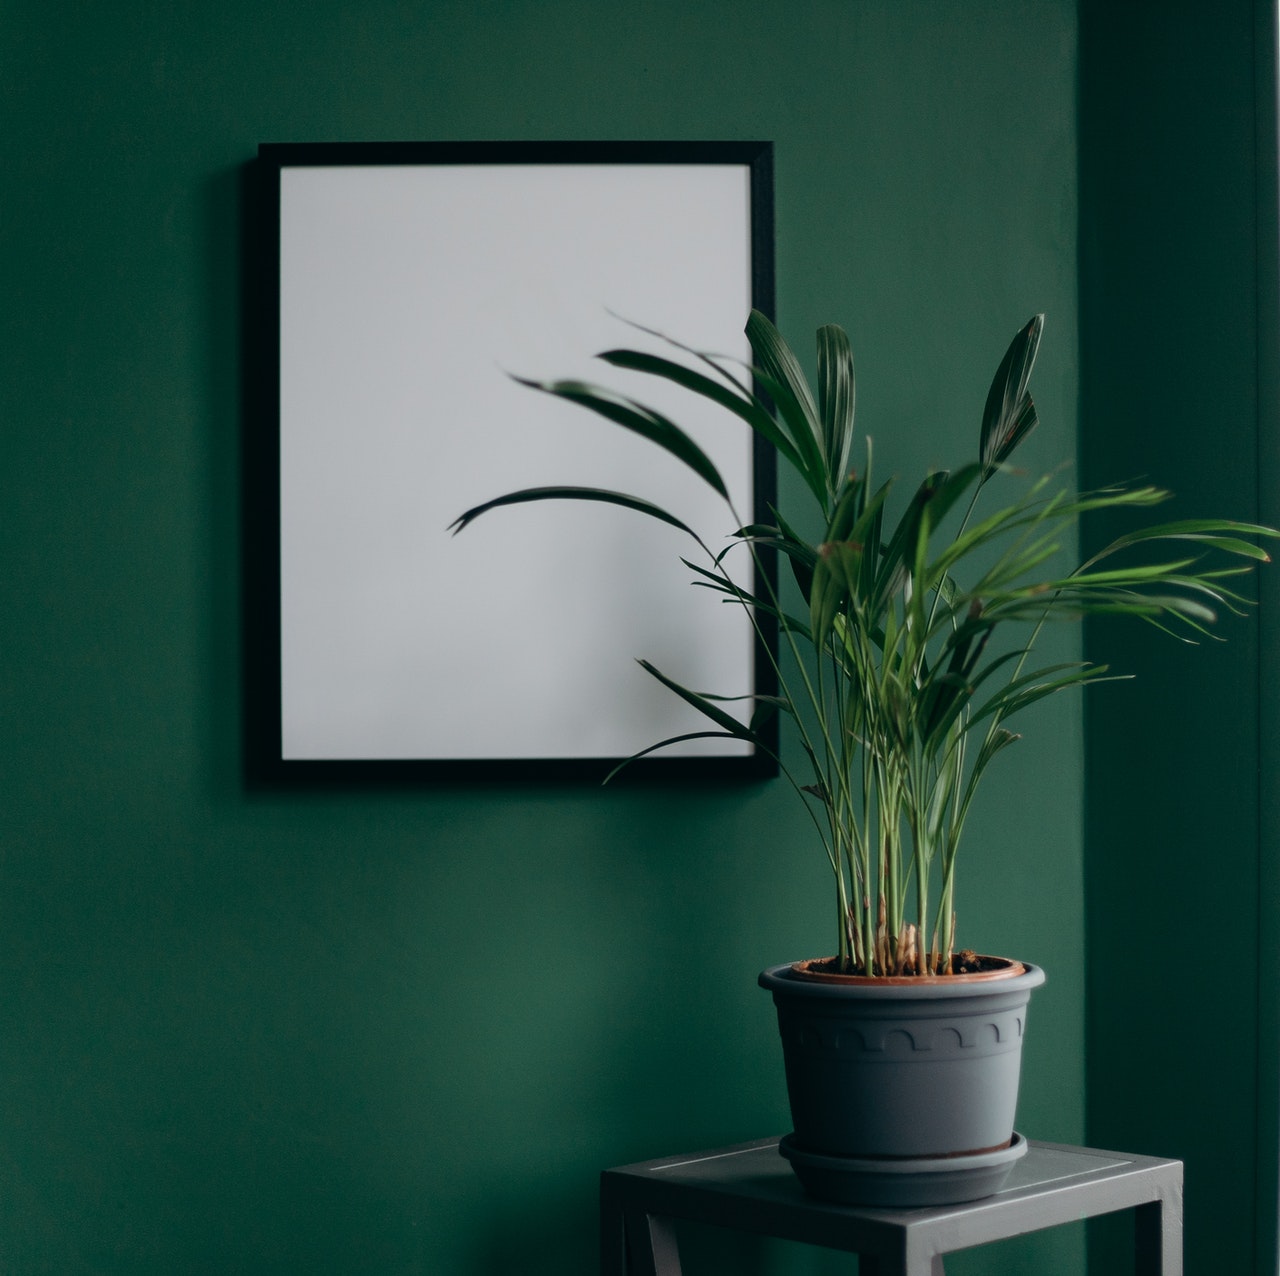
For example, a wood frame is the most natural choice which offers a warm and classic feel. If your puzzle includes warmer tones, you can opt for a darker wood frame, or a lighter wood frame if the puzzle has cooler tones. Either way, it will seamlessly blend in a modern or rustic home.
Finally, don’t forget to add additional support by mounting your puzzle onto wax paper. You can do this by gluing the puzzle to the wax paper to give it a cohesive look. Once you have completed this, you can transfer your puzzle into your frame.
Photo by House Beautiful
Final Thoughts
Fortunately, jigsaw puzzles aren’t going out of style. Not only are they the perfect way to bond with your family and friends during the holidays, but they also make beautiful artwork for your home decor. So, if you want to be original with your wall decorations, go get yourself a jigsaw puzzle and start crafting.


