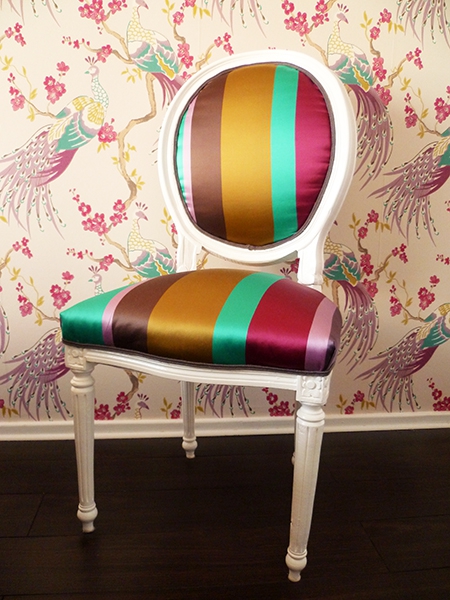
If you want to change up your décor or if your chairs are showing signs of wear and tear, a DIY upholstery chair just might be the perfect thing for you.
It’s easy to do, it allows you to determine the look of your furniture, and it can save you money. These steps, brought to you by Nadia of Preciously Me, will take you through creating your own DIY upholstery chair, and we think you’re gonna be surprised at how easy it is.
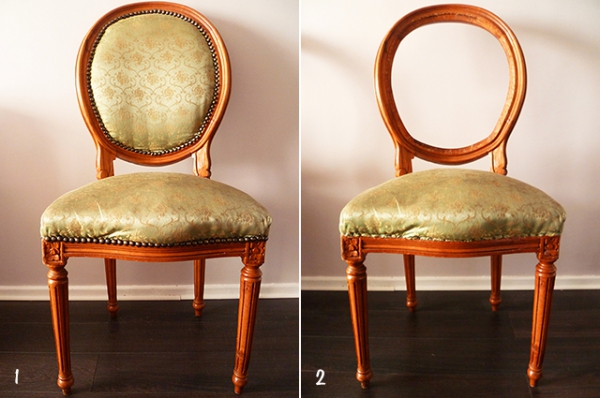
1. First you will want to remove the carpet nails from the chair.
2. Only remove the cushions if they’re in a bad condition. If you do have to remove one of the cushions, keep the hair-cloth for later. In this case, the chair back has been removed.
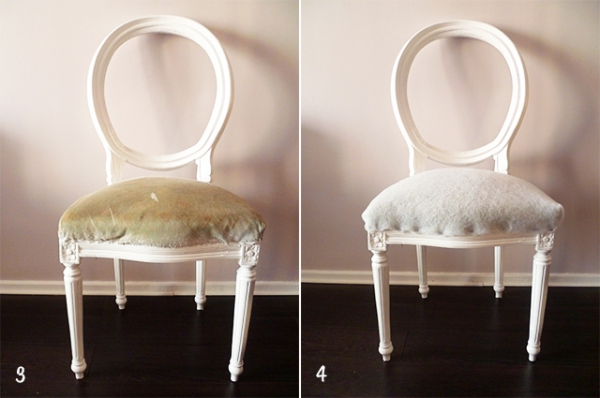
3. Before you paint your chair frame, you will want to sand the wood. If you’re not changing the frame of your chair, skip down to number 5
4. Paint the frame of the chair in your desired color.
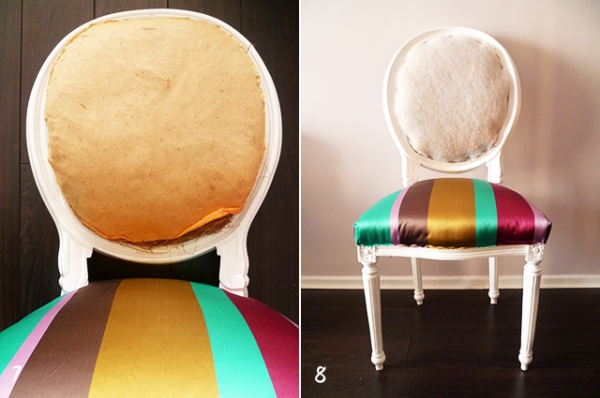
5. Staple a layer of fleece to the seat of the chair.
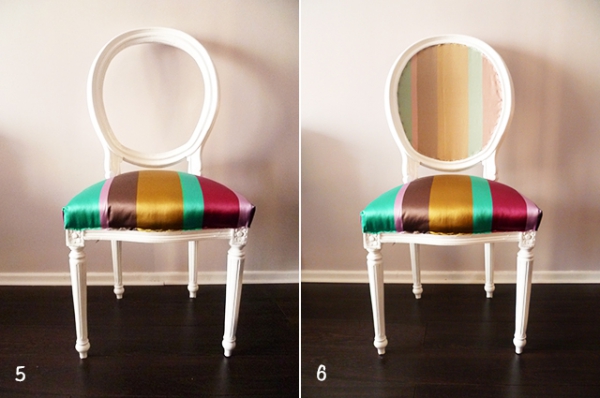
6. Take your fabric of choice and staple it over the fleece, making sure your fabric lines up correctly.
7. On the back of the chair, the cushion has been removed, so first you’re going to staple your fabric of choice to the back. Again, make sure your fabric lines up correctly.
8. Take the hair-cloth from step 2, and place it in the back of the chair.
9. Cover the hair-cloth with fleece, and staple.
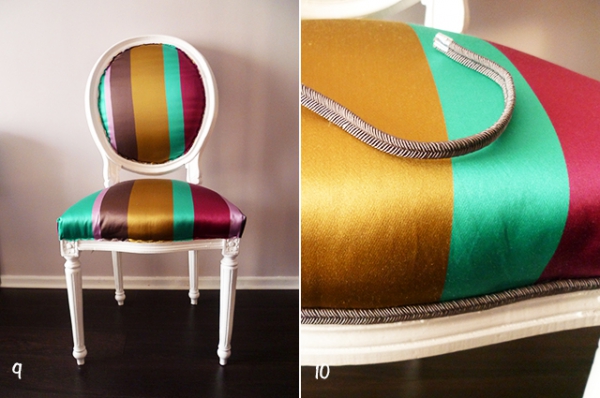
10. Staple your fabric of choice over the fleece.
11. Cut off any extra cloth.
12. Place a braid stripe in between the cushions and the frame, effectively covering the staples.
Sit back and admire your just like new creation!
Now instead of buying entirely new furniture, you can make your very own DIY upholstery chair. If you try it out, don’t forget to let us know how it goes.
Happy DIYing!


