This DIY ice cream cone decoration created by Katie at Icing Designs is absolutely adorable! It could brighten up any party or kids’ event. The playful decoration would also be fantastic for adding a little fun to a kid’s room, and/or playroom.
Materials needed to do your ice cream cone decoration:
- 2 1/2″ styrofoam balls
- 1 1/2 yards of lightweight cotton fabric in the desired colors
- Sewing machine or needle and thread
- Hot glue gun and glue
- Regular glue
- Scrapbook paper
- Cone template
- Polyester stuffing
- Ribbon
- Pins
- Pinking shears
How to do it:
- Using your pinking shears, cut the fabric you are going to use for your ruffles into 44″ long x 1.5″ wide strips.
- Use the sewing machine to sew down the middle of the strip, while ruffling the fabric. If you are using a needle and thread, do the same, but ruffle the fabric by hand. The ruffle should be approximately 8″ long. You can also use pre-ruffled fabric or ruffled trim.
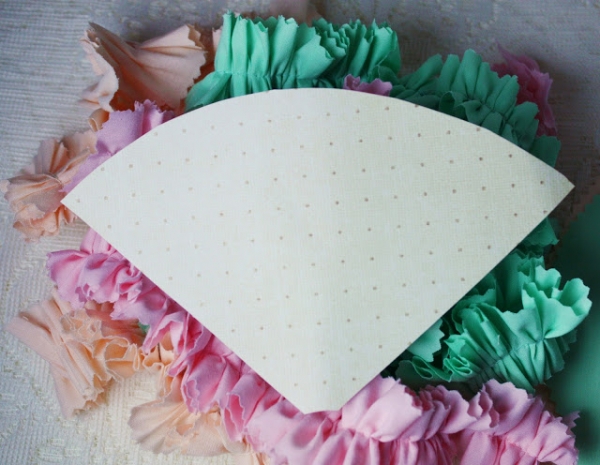
- Use the cone template to trace the cone onto your scrapbook paper.
- Cut out the cone.
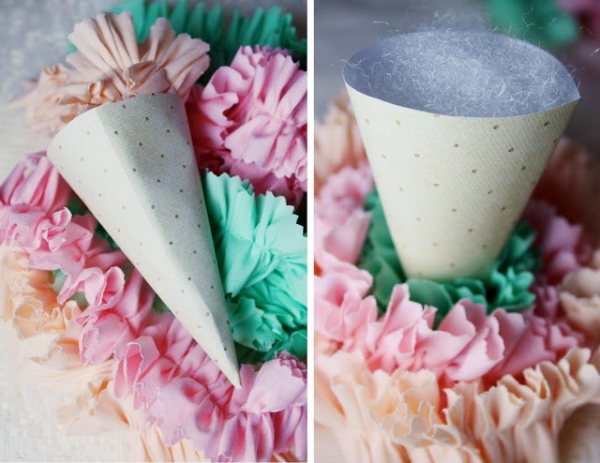
- Use regular glue to glue the cone edges together, creating the cone shape.
- Use the polyester stuffing to fill your cone.
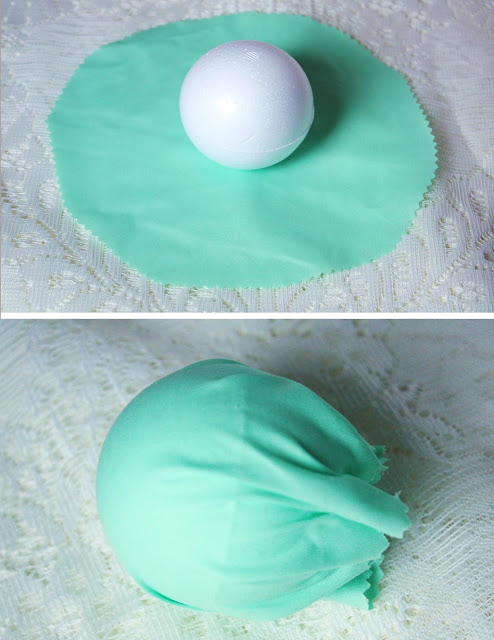
- Take the fabric you want to use for the ice cream part of your cone, and cut it into a circle, that is approximately 8″ in diameter.
- Wrap this fabric around your styrofoam ball.
- Use the hot glue gun to glue the fabric to the bottom of the ball. The bottom doesn’t have to be pretty. It won’t be seen when the ice cream cone is complete.
- Take the hot glue gun and glue around the inside edge of the cone.
- Take your fabric covered styrofoam ball and place it inside the cone.
- Grab your fabric ruffle and hot glue it around the edge of the cone, wrapping as you go around. Remember to place hot glue on the styrofoam and the cone.
- For hanging, take your ribbon and cut it to your chosen length.
- Grab a pin or use the hot glue gun to fasten the ribbon to the top of your DIY ice cream cone decoration.
- Hang them up and enjoy!
SEE ALSO: Most Popular Home Design Styles Defined

